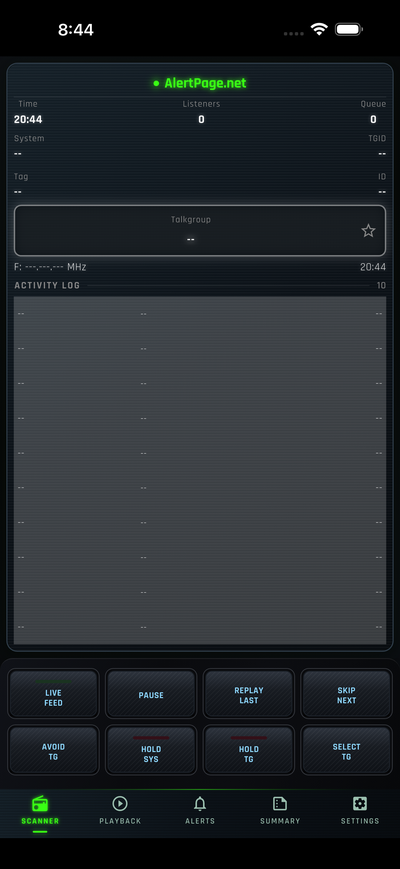
Step 1: Open the app
From the main Scanner screen, confirm you are on the SCANNER tab (bottom navigation).
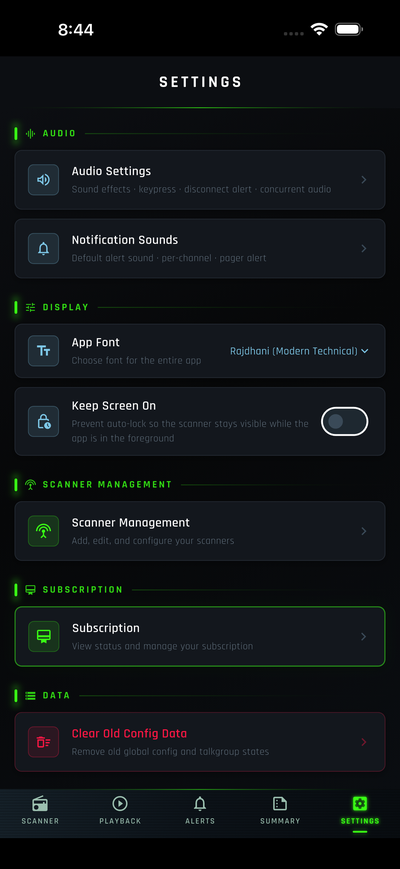
Step 2: Open Settings
Tap SETTINGS (gear icon) in the bottom navigation bar.
Under SCANNER MANAGEMENT, tap Scanner Management (Add, edit, and configure your scanners).
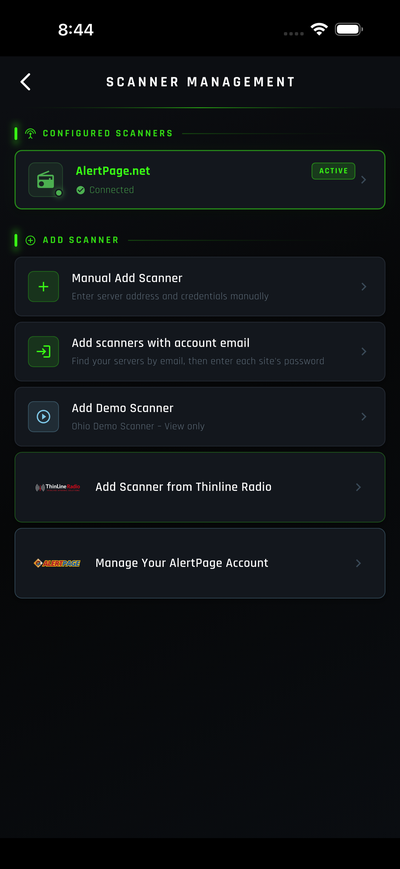
Step 3: Select the scanner to remove
On Scanner Management, find the scanner under CONFIGURED SCANNERS (for example AlertPage.net).
Tap the scanner row to open its settings.
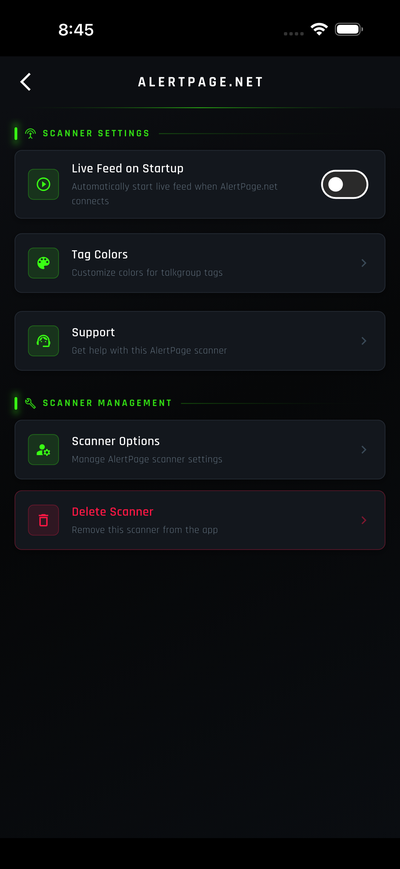
Step 4: Delete the scanner
On the scanner's settings screen (e.g. ALERTPAGE.NET), scroll to SCANNER MANAGEMENT.
Tap Delete Scanner (red text with trash icon) — Remove this scanner from the app.
Confirm if the app asks you to confirm deletion.
Summary
| Step | Where to go | Action |
|---|---|---|
| 1 | Scanner tab | Open the app |
| 2 | Settings → Scanner Management | Open scanner list |
| 3 | Configured Scanners | Tap the AlertPage scanner to remove |
| 4 | Scanner Management → Delete Scanner | Remove it from the app |
After deletion, you can add a new scanner from Scanner Management → ADD SCANNER if needed. To sign in and sync scanners automatically, see the Sign In to AlertPage guide.