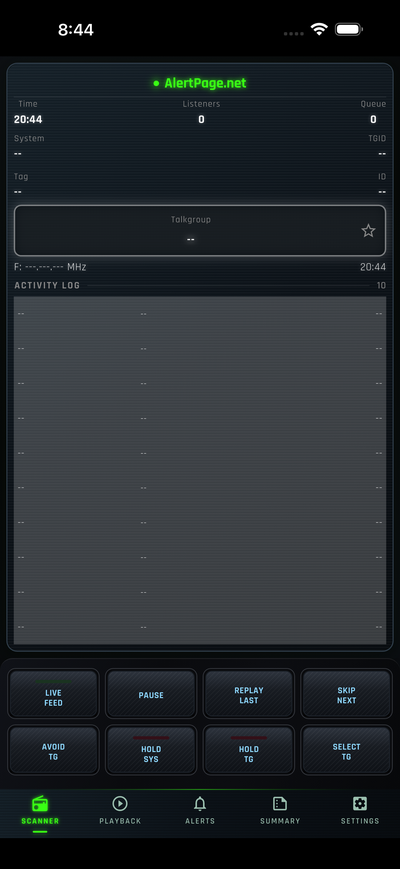
Step 1: Open the app
From the main Scanner screen, confirm you are on the SCANNER tab (bottom navigation).
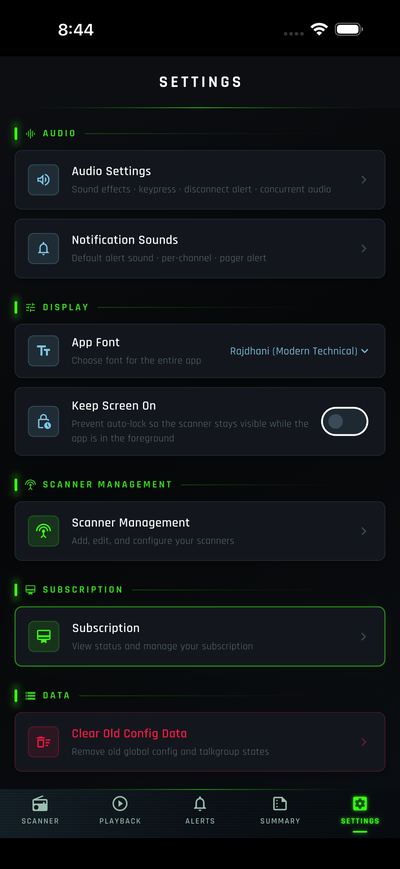
Step 2: Open Settings
Tap SETTINGS (gear icon) in the bottom navigation bar.
Under SCANNER MANAGEMENT, tap Scanner Management (Add, edit, and configure your scanners).
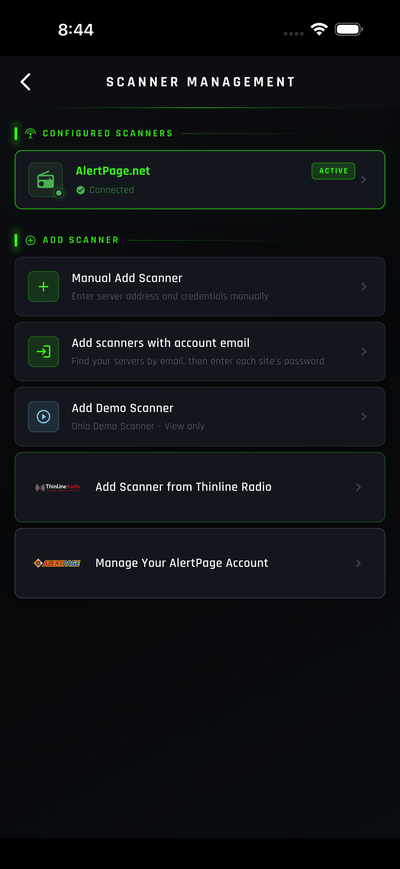
Step 3: Open AlertPage account sign-in
On Scanner Management, scroll to the ADD SCANNER section.
Tap Manage Your AlertPage Account (AlertPage logo) — not a scanner under CONFIGURED SCANNERS.
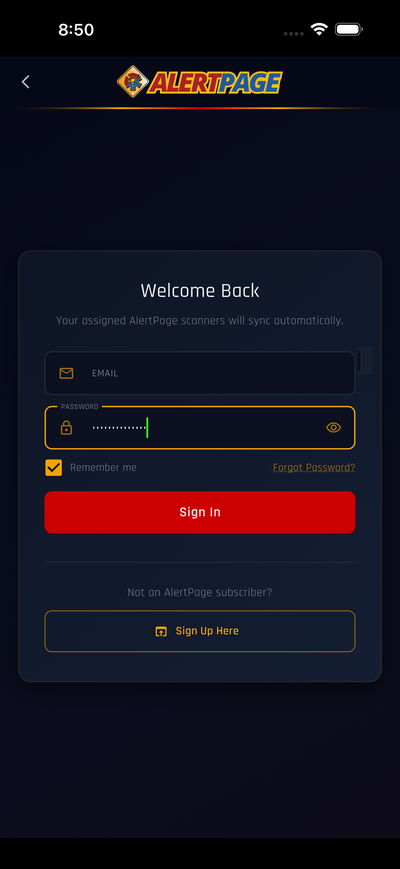
Step 4: Sign in with your AlertPage account
On the AlertPage sign-in screen, enter the email and password for your AlertPage account.
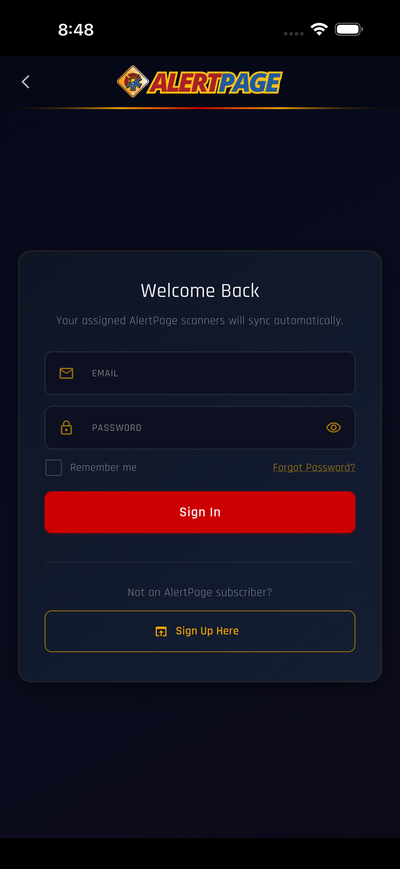
- Type your email in the EMAIL field.
- Type your password in the PASSWORD field.
- Turn on Remember me (check the box so you stay signed in).
- Tap Sign In (red button).
Your assigned AlertPage scanners should sync automatically after a successful sign-in.
Step 5: Scanners sync to your device
After you sign in, you will see your AlertPage account screen. Your assigned scanners are added to your device automatically — you do not need to add them manually.
Under YOUR SCANNERS, you will see each scanner assigned to your account. Scanners sync once when you sign in.
If your assigned scanners change later, tap RE-SYNC SCANNERS (red button) to pull the latest list.
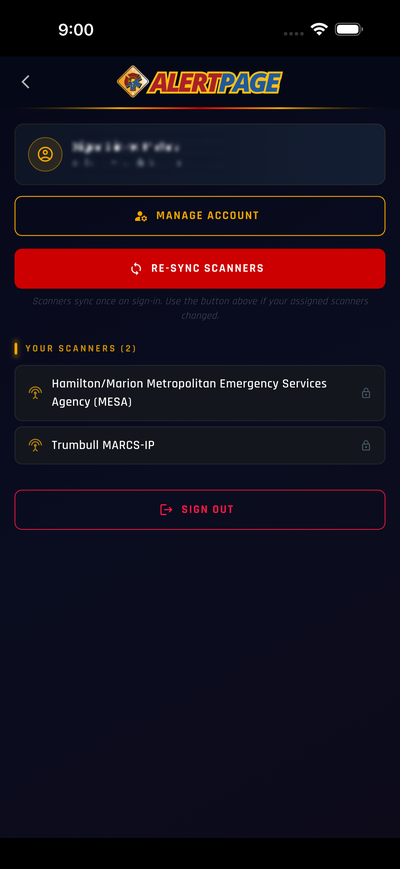
Step 6: Manage your account
From the AlertPage account screen (Step 5), tap MANAGE ACCOUNT (yellow button).
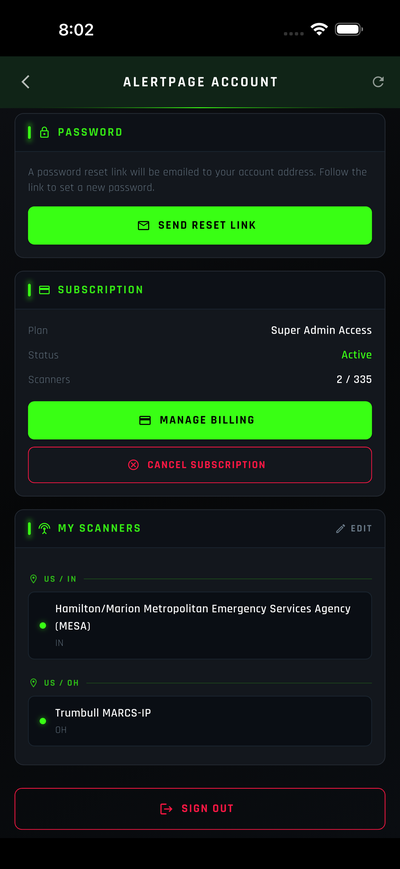
On the ALERTPAGE ACCOUNT screen you can:
- Password — tap SEND RESET LINK if you need to reset your password.
- Subscription — view your plan and tap MANAGE BILLING or CANCEL SUBSCRIPTION if needed.
- My Scanners — tap EDIT (top right) to add or change which scanners are on your account.
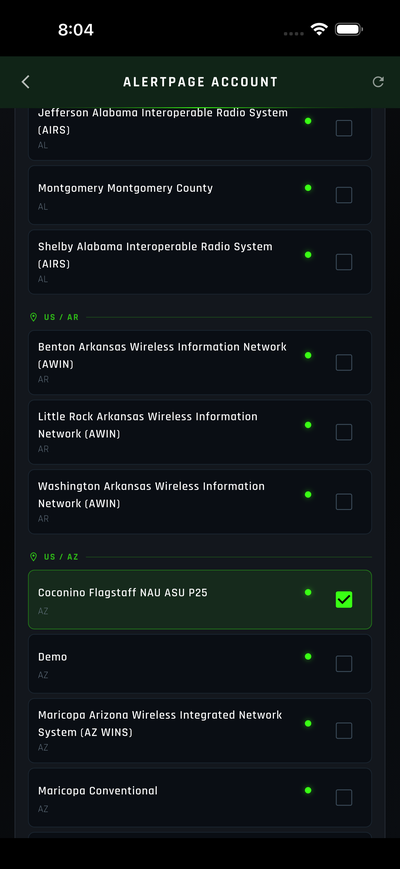
Step 7: Select your scanners
After you tap EDIT under MY SCANNERS, you will see the full scanner list grouped by location (for example US / AL, US / AR, US / AZ).
- Scroll to find the scanners you want.
- Tap a scanner row to select or deselect it (checked = on your account).
- Selected scanners show a green border and checkmark.
Step 8: Save your scanner selections
When you are done selecting scanners, save your changes using either option:
Option A — Save at the bottom
- Scroll to the bottom of the scanner list.
- Tap Save.
Option B — Back button
- Tap the back arrow (top left).
- If you have unsaved changes, an UNSAVED CHANGES prompt appears.
- Tap Save (green) to keep your selections, or Discard (red) to leave without saving.
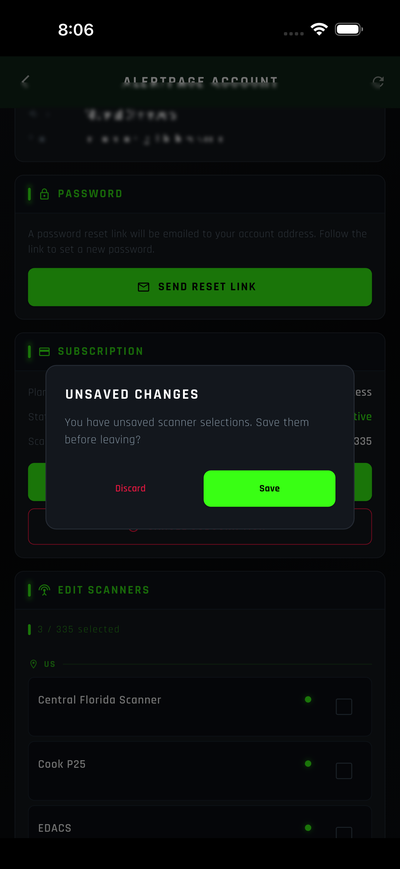
After saving, your updated scanners sync to your device.
Summary
| Step | Where to go | Action |
|---|---|---|
| 1 | Scanner tab | Open the app |
| 2 | Settings → Scanner Management | Open scanner list |
| 3 | ADD SCANNER → Manage Your AlertPage Account | Open AlertPage sign-in |
| 4 | AlertPage sign-in | Enter email and password, check Remember me, tap Sign In |
| 5 | AlertPage account | Scanners sync automatically; use RE-SYNC SCANNERS if your list changes |
| 6 | MANAGE ACCOUNT → AlertPage Account | Manage password, billing, or tap EDIT under MY SCANNERS |
| 7 | My Scanners (edit mode) | Select or deselect scanners from the list |
| 8 | Save or back arrow | Tap Save at bottom, or use back arrow → Save on prompt |